The idea
Alerts work best when they match your life, not someone else's worst case. On the alert settings page you decide which BeAware notifications reach you and which channel carries each one, so the urgent ones get through and the rest stay quiet.
Using it
Open the page from the BeAware menu, or go to /beaware/alert-settings. Across the top are your three delivery channels (Email, SMS, WhatsApp), with your alerts grouped into cards below. Everything saves as you go, and you will see an "Alert preferences updated" confirmation each time.
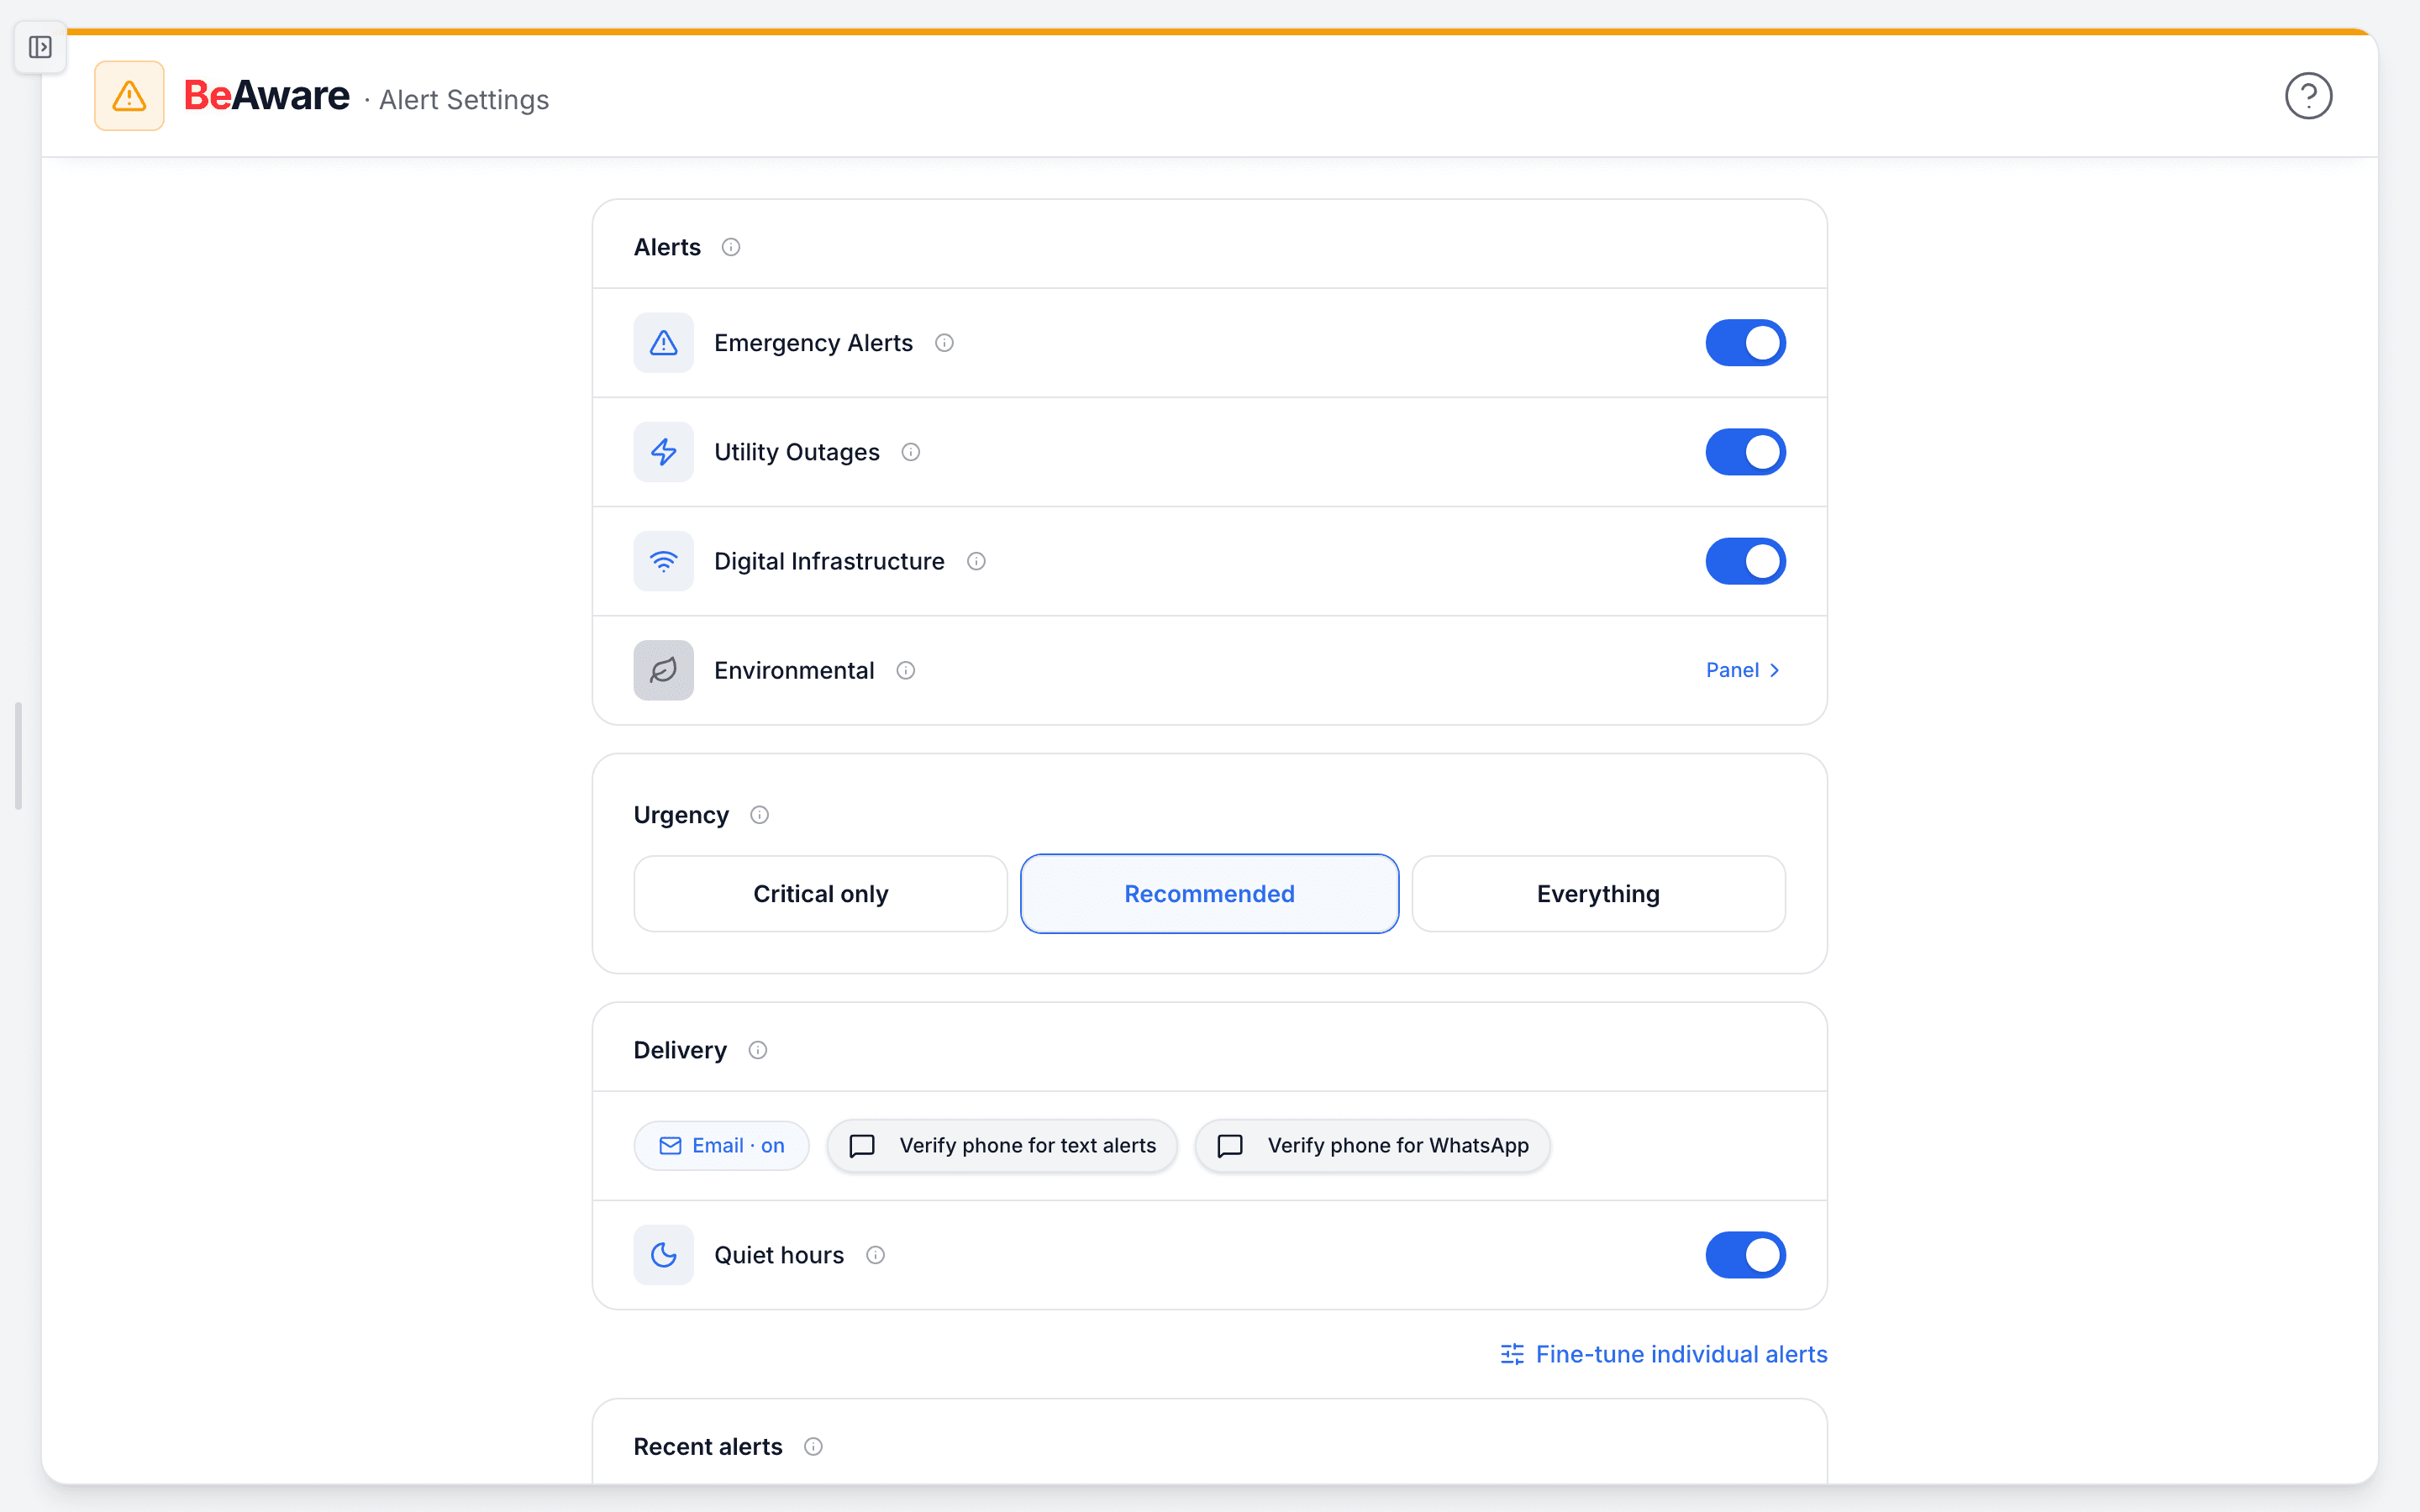
- Confirm your channels. The chips at the top (Email, SMS, WhatsApp) are the ways an alert can reach you. Each alert row has a checkbox under each channel, so you control delivery alert by alert, not just on or off for everything.
- Work through the alert groups. There are three cards: Unified Alert System (FEMA IPAWS emergency alerts for your area), Utility Alerts (power outage monitoring), and Digital Infrastructure (internet, cloud, and communication outages).
- Tune what each group sends. This is where you set your thresholds. Inside Utility Alerts, Alerts Near Me covers outages within 5 miles of your address, and Large Power Outages triggers on events affecting 1,000 or more customers for your utility. Inside Unified Alert System, you pick categories like Severe Storms & Wind, Floods, Winter & Temperature Extremes, Geological, Fire & Hazardous Materials, and Public Safety. Tap the info icon next to a row to see exactly which warnings sit under it.
- Set the channel for each alert. Use the checkbox under Email, SMS, or WhatsApp on a row to choose how that specific alert arrives. Leave a column unchecked to keep that alert off that channel.
- Use the group checkbox to move fast. The checkbox in a card header turns every alert in that group on or off across all channels at once. It shows a dashed (indeterminate) state when only some are on. The checkbox at the start of a single row toggles all three channels for just that alert.
- Verify a phone for SMS and WhatsApp. Text and WhatsApp delivery need a confirmed mobile number. Open Account → Profile, edit your Profile Details, and enter your phone number. When you leave the field, we text a 6-digit code. Enter it in the verification dialog to confirm, and a green "Verified via SMS" note appears once it saves. Email needs no setup.
What to do when ...
- You toggled something but aren't sure it saved. Watch for the "Alert preferences updated" confirmation. There is no Save button, so changes write on their own a moment after you tap.
- SMS or WhatsApp options seem to do nothing. Your phone likely isn't verified yet. Add and confirm a number under Account → Profile, then come back.
- You're getting too much. Narrow to fewer categories, or keep noisy ones on Email only and reserve SMS for the alerts you would act on at 2 a.m.
- You want everything for one area of risk. Use the group header checkbox to switch that whole card on across all channels.
How people actually use it
A parent in a flood-prone area keeps Floods, Winter & Temperature Extremes, and Public Safety on SMS, so evacuation and shelter-in-place messages buzz their phone, and leaves Digital Infrastructure on Email only. A remote worker does the reverse: they turn on Internet & Cable Providers and Cloud & Hosting to hear about an outage before a client does, and keep weather on Email.
Where this fits
This is the "Watch for change" step of your preparedness loop. Once you know your risk, alerts tell you the moment it shifts. A natural next stop from here is your BeReady plan, so when an alert lands you already know what to do. See /help for setting that up.