Keep the Heat In: Your Calm Plan for a Cold, Dark House
It's 9 p.m. The wind is howling, the lights just clicked off, and the furnace fan has gone silent. Your house is already starting to lose its warmth. Take a slow breath. You don't need fancy gear to get through this comfortably, and you don't need to be an expert. You need one simple plan.
Here's the big idea: holding onto the heat you have is your safest first step. Your body, your blankets, and one small, sealed-up room can do more than you'd expect. Ready.gov advises gathering supplies in case you need to stay home for several days without power during winter weather .
Think of this guide as a way to de-overwhelm winter outages. The plan has five easy parts:
- Pick one warm room.
- Seal it up.
- Layer up together.
- Skip anything that burns fuel indoors.
- Know when to head out.
It works if you're sheltering at home for days. It works just as well if you need to leave fast. Our goal is simple: stay warm without burning anything indoors.
Step 1: Pick Your Warm Room
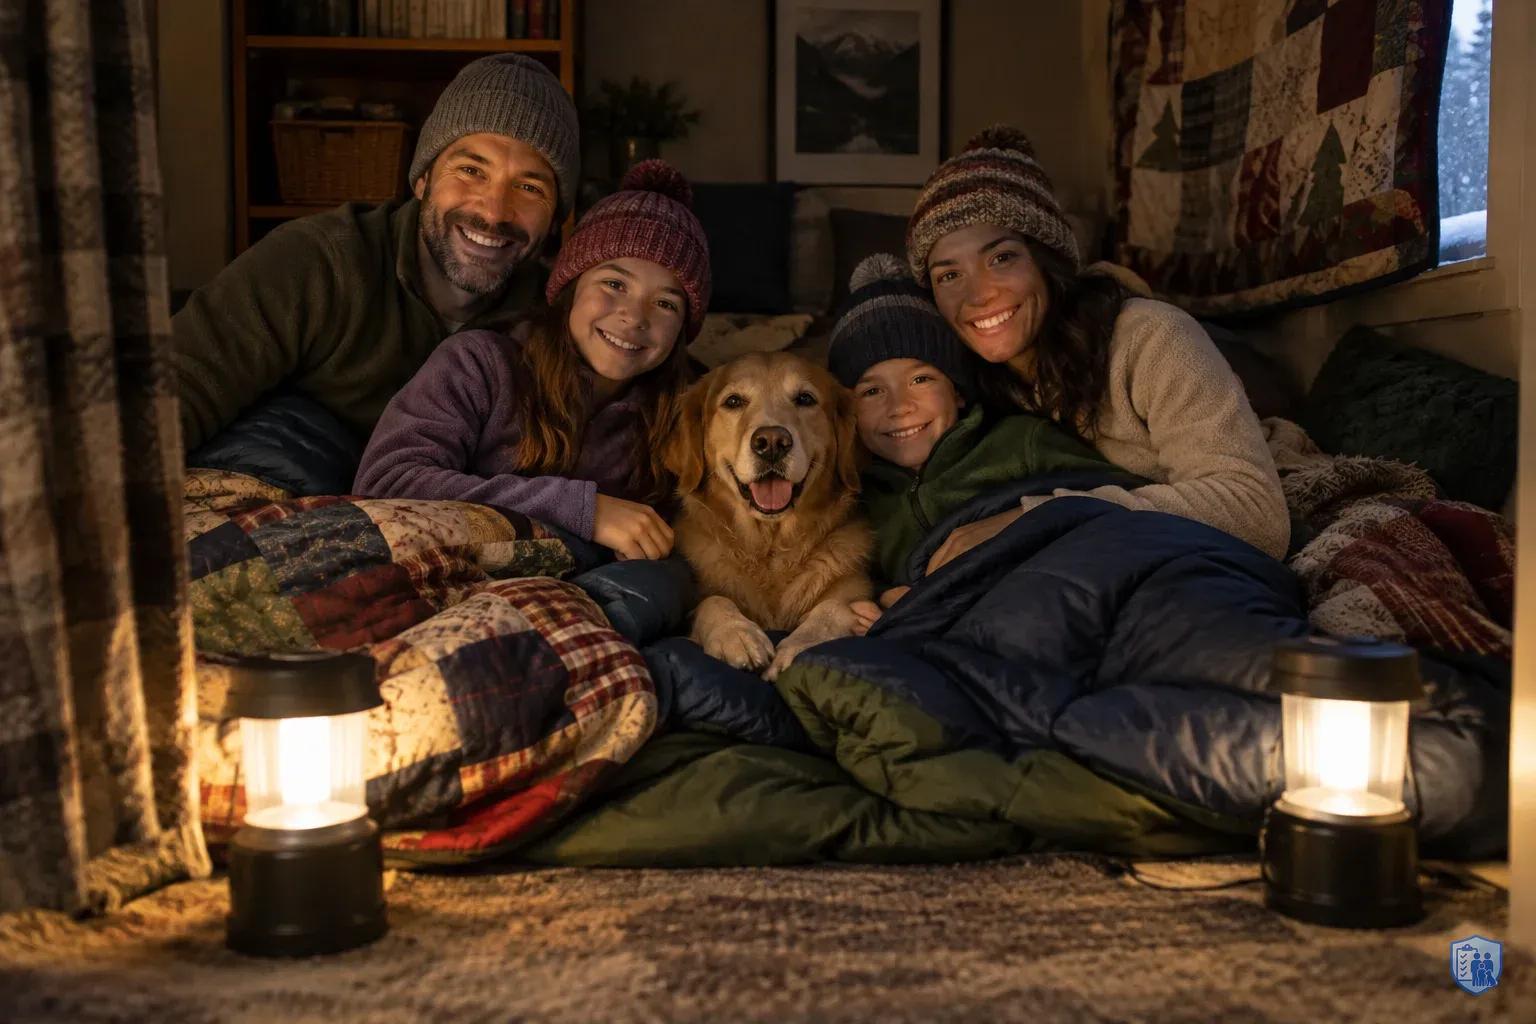
Think of your warm room as a cozy campsite inside your house. The smaller and more sheltered it is, the easier it is to keep warm with just the people in it.
Heat escapes through a home's building envelope, meaning the walls, windows, and roof . As a rule of thumb, a room with fewer outside walls and windows has less surface for heat to slip through. Ask yourself these questions as you walk through your home:
- How many outside walls does it have? Fewer is better.
- How many windows and glass doors? Fewer is better.
- Is it small enough for everyone to fit comfortably? A bedroom or den usually beats a big, open living room.
- Does it get daytime sun? If you live in the Northern Hemisphere, a south-facing room often gets more sun. That can mean a little free warmth, but it's a bonus, not a must.
Skip rooms with big sliding glass doors or drafty outside walls. Picture a sunroom: it's lovely in April and chilly at 2 a.m. in a blizzard.
Choose your room before winter arrives. Then tell everyone in the family which one it is, so kids, teens, and visitors all know where to go when the lights go out.
Your first easy step: This weekend, walk through your home and pick your warm room. It takes five minutes and makes the rest of your plan much simpler.
- Shut doors to unused rooms
- During an outage, close the doors to every room you aren't using so your warmth stays in your one warm room.
- Roll a towel under the door
- Press rolled-up towels along the bottom of the door to block drafts. On a windy night, a tiny gap can feel like an open window.
- Hang a blanket over open doorways
- If a doorway has no door, hang a blanket over it to hold the heat in.
- Cover windows at night
- At night, cover windows with heavy curtains, quilts, or blankets.
- Seal gaps before winter
- Ready.gov recommends adding insulation, caulking, and weather stripping before the cold hits. These are often affordable DIY projects.
Step 2: Seal It Up and Close It Off
Once you've picked your room, the next job is to hold the warmth in. Air sealing and insulation are how homes reduce heat loss through the building envelope . During an outage, you can borrow the same idea using things you already own.
Do these during the outage:
- Shut the doors to every room you aren't using, so your warmth stays in one place.
- Roll up towels and press them along the bottom of the door to block drafts.
- Hang a blanket over any doorway that has no door.
- Open curtains on sunny windows during the day to let the sunshine in.
- Cover windows at night with heavy curtains, quilts, or blankets.
Think of it like putting a lid on a pot. The heat that's already there has much less room to escape.
Do these before winter:
Ready.gov recommends adding insulation, caulking, and weather stripping before the cold hits . Weather stripping is a thin strip of foam or rubber that sticks around a door or window frame. It closes the gap when the door or window shuts. Caulk is a squeezable sealant that fills small cracks around frames. These are often affordable DIY projects, and a free afternoon and a how-to video can get you started.
A tiny gap under a door may seem like nothing. On a windy night, it can feel like an open window, so even a rolled-up towel makes a real difference.
Step 3: Layer Up and Huddle Together
Now your room is sealed. Next, you work on keeping yourselves warm. Several thin layers of loose clothing usually work better than one thick sweater, because the air trapped between layers helps hold your body heat. Ready.gov advises gathering supplies for several days without power, so it's smart to include warm clothes and blankets in that stash .
- Wear loose layers, a hat, warm socks, and gloves, even indoors.
- Change out of damp clothes right away. Wet fabric can pull heat from your body fast.
- Sleep in sleeping bags with blankets on top.
- Put a blanket or foam pad under you. A cold floor can pull heat away from your body.
- Gather family members and pets in the warm room. Shared body heat can help a lot.
Staying calm and busy is part of staying warm. Worry makes a long night feel longer, and a bored, anxious family can get tense. Pull out board games, card decks, and books. Read aloud by flashlight. Keep a simple daily routine: breakfast at the usual time, a game after lunch, a story before bed.
A power outage can become a family memory instead of a family crisis. A steady routine tells everyone, especially kids, that you've got this.
What Stays Outside: Grills, Stoves, Generators, and DIY Burners
When the house gets chilly, it's tempting to grab anything that makes heat. Here's the friendly mentor rule: if it burns fuel, it stays outside. Burning fuel indoors is one of the most serious dangers in a winter outage, and the fix is easy once you know it.
Carbon monoxide (CO) is a gas you can't see or smell. It can build up in a home when people use fuel-burning devices to stay warm. That's why a few simple habits matter so much:
- Never use generators, grills, camp stoves, or any gasoline-, propane-, or charcoal-burning device inside your home, garage, or basement, according to the CDC.
- Never use a gas oven to heat your home.
- Install battery-powered or battery-backup CO alarms near sleeping areas, and test them.
- Skip the candles. NFPA recommends flashlights and battery-powered lighting during outages.
- Be careful with DIY heaters you see online. Some videos show homemade burners, such as a paint-can burner fueled by alcohol, that were built for a space like a greenhouse. These are open flames burning liquid fuel, so they don't belong in a room full of sleeping people. Fuel-burning heaters can add fire risks and indoor air-quality problems .
- If you own a heater approved for indoor use, follow its manual. NFPA says to keep anything that can burn at least three feet away and to keep a three-foot kid-free zone around space heaters .
A greenhouse is a very different space from a bedroom. A heat source that makes sense in one can be a poor fit for the other. When in doubt, go back to blankets, layers, and your sealed-up warm room.
- Never indoors: generators, grills, and camp stoves
- Never use generators, grills, camp stoves, or any gasoline-, propane-, or charcoal-burning device inside your home, garage, or basement. If it burns fuel, it stays outside.
- Never heat your home with a gas oven
- Do not use a gas oven to heat your home. Use blankets, layers, and your sealed-up warm room instead.
- Never indoors: homemade can burners
- Some online videos show homemade burners, such as a paint-can burner fueled by alcohol, built for spaces like a greenhouse. These are open flames burning liquid fuel and don't belong in a room full of sleeping people.
- Safe choice: battery-powered CO alarms
- Install battery-powered or battery-backup CO alarms near sleeping areas, test them, and keep spare batteries on hand.
- Safe choice: flashlights instead of candles
- Skip the candles. Use flashlights, battery lanterns, and other battery-powered lighting during outages.
Know When to Leave: Warning Signs and Warming Centers
Even a great plan has limits. Knowing when to go is part of the plan, not a sign it failed. A quick check on how everyone feels can help you decide.
- Signs of hypothermia (when the body gets too cold) can include shivering, exhaustion, confusion, fumbling hands, memory loss, slurred speech, and drowsiness. In babies, look for bright red, cold skin and very low energy.
- Signs of CO poisoning can include headache, dizziness, weakness, upset stomach, vomiting, chest pain, and confusion. If you think it might be happening, get everyone into fresh air right away and call 911.
- Warming centers are a smart choice. Ready.gov recommends going to a community location with power if the cold is extreme . Check with your local emergency management office to find warming centers near you. In many areas, you can also call 211 for help.
If you plan to leave, go early, before roads get worse. Waiting until the snow piles up can turn a short drive into a tough one. Keep a small grab-and-go bag by the door with:
- Medications
- ID and important papers in a waterproof bag
- Phone chargers
- Warm layers
- Snacks and water
Know your route ahead of time, and save your warming center's address in your phone. Then if the night gets tough, you can be out the door in minutes.
Your Pre-Winter Warm Room Checklist
You can finish this list in one weekend. Ready.gov recommends gathering supplies to last several days without power and adding weather stripping and caulking before winter . Start with just one box and check it off. Every item you cross off makes the next storm easier.
Supplies
- Sleeping bags and extra blankets
- Hats, gloves, and wool socks
- Towels for door gaps
- Heavy curtains or quilts for windows
Safety
- Checklist safety items: flashlights and battery lanterns.
- Battery-backed CO alarms, plus spare batteries
- A battery or hand-crank radio
Before winter
- Weather stripping and caulk installed
- Your warm room chosen, and your family told
- A grab-and-go bag packed
- Your local warming center saved in your phone
Copy this checklist onto a sheet of paper and tape it inside a closet door, so it's ready before the first storm. Small steps now mean a calmer storm later, and you've already started.