Paint-can heaters for greenhouses: what the viral video skips
1. Why this video is spreading, and the short answer
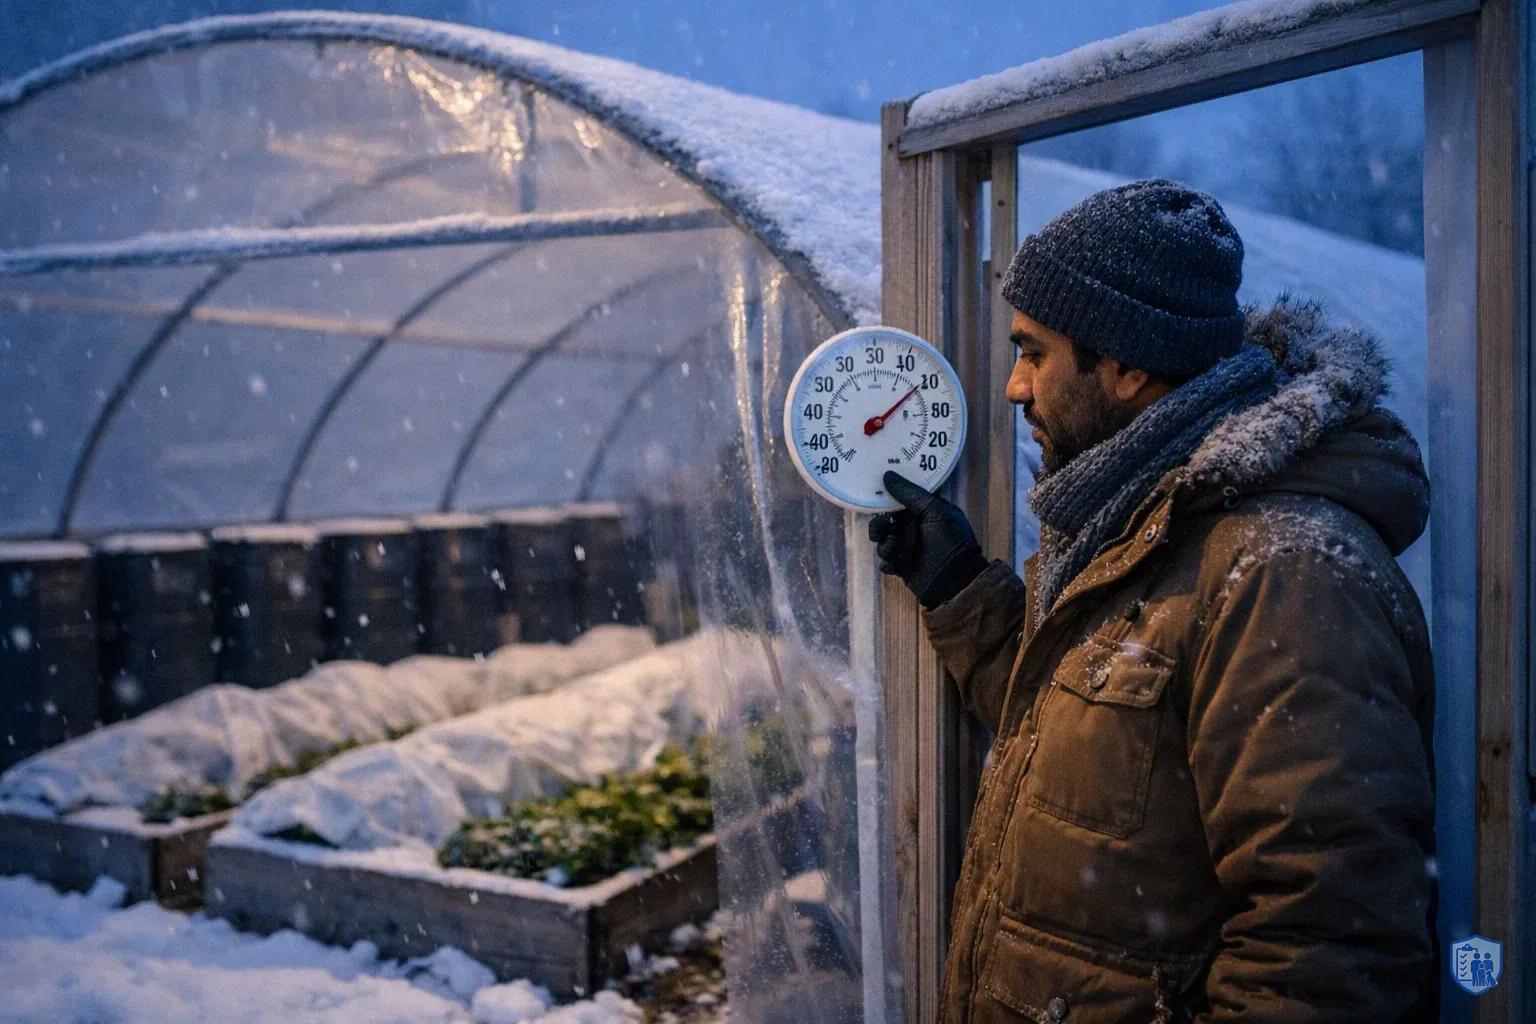
The storm knocks out your power at dusk. Outside, the temperature is sliding toward single digits. In your backyard greenhouse sit the winter greens, the tomato seedlings, and the cold-hardy crops you were counting on to stretch your grocery budget. The electric heater has gone silent, and a "no electric needed" heat source starts to sound like a lifeline.
That is why "UNLIMITED Heat For Your Home Or Greenhouse | No Electric Needed" by the channel Zen Garden Oasis is spreading. The creator presents a paint-can burner built from perlite, stainless-steel mesh, and denatured alcohol, with a heat-powered fan. He pitches it for a home or a greenhouse.
The short answer: never use it as an indoor home heater. For a greenhouse, consider it only after you've exhausted safer heat-retention options, and only within strict limits. Any open flame in a closed space can let carbon monoxide (CO) build up. Ready.gov advises installing CO detectors with battery backup .
Below, you'll see why the device seems to work, what the video leaves out, and what to do first. We don't give build or fueling instructions, and that is deliberate.
- Nearly invisible flames
- Alcohol flames can be pale and hard to see, especially in bright light. A burner can look out while it is still lit, which is how people get burned reaching in or refilling. Don't trust your eyes. Confirm nothing is still burning.
- Flame jetting during refueling
- Refilling a pooled-alcohol or liquid-fuel device while any flame is present can send fire up the fuel stream into the container and onto the person holding it. Never refuel while the device is lit or warm. Let it cool completely first.
- Spills and tipping
- A can on an uneven greenhouse floor can be bumped by a person, a pet, or a gust through the door. Burning liquid spreads fast, and perlite does not make a can tip-proof. Any heat source needs a stable, noncombustible base protected from door drafts.
- Carbon monoxide
- Burning fuel produces CO, a gas you can't see or smell. A tightly sealed greenhouse or room can trap it while you work inside. Install CO detectors with battery backup and ventilate as the equipment requires.
- No listing, no safeguards
- A paint can is not a listed heating appliance. It has no tip-over shutoff, no oxygen-depletion sensor, and no tested clearances. Keep plastic covers, potting mix bags, curtains, and fuel at least three feet from any heat source.
- Never use it as a home heater
- Bedding, curtains, kids, pets, and sleeping people make an open liquid-fuel flame unacceptable indoors, with no exceptions. Focus on heat retention instead: close off unused rooms, gather in one space, and layer clothing and bedding.
2. Why the paint-can heater appears to work
The design rests on three simple ideas. Every performance claim below comes from the creator. None of it has been independently tested.
Perlite as a fuel holder. Around the 2:00 mark, the video packs the can with perlite. This lightweight volcanic material is full of tiny pores, and in the creator's design it soaks up liquid fuel like a sponge. The idea is to limit free-standing liquid and keep the flame at the surface instead of in a deep pool.
Stainless mesh as a radiant element. Around 2:50, the creator adds stainless-steel mesh. By his account, the mesh heats up and glows, so it sends heat outward instead of letting it all rise straight up. Radiant heat warms plants, benches, and people directly, which can make a small flame feel bigger than it is.
A heat-powered stove fan. Fans like this sit on a hot surface and typically run off the temperature difference, so they need no electricity. Check the manufacturer's specs for temperature limits and placement. The fan stirs warm air through the space. That helps explain why the creator says the heater works in a roughly 200-square-foot greenhouse in single-digit outdoor temperatures. Treat that as a claim, not a measured result.
The creator does voice some cautions:
- He calls for a new, clean, unlined can (around 0:26) and warns against reused cans or sprayed-in linings because of possible fumes.
- He lights the burner from a distance (around 9:14) and warns against reaching into it.
- He mentions detectors and extinguishing equipment (around 4:32).
- He shows smothering the burner with the lid (around 12:38).
He also mentions 91% isopropyl alcohol and K-1 kerosene-type fuel as variations. CPSC says kerosene heaters should use only water-clear 1-K kerosene, in equipment designed for it . A paint can is not that equipment.
Here is how the idea stacks up:
| Pros (as the creator presents them) | Cons (what the video can't fix) |
|---|---|
| Needs no electricity | Open liquid-fuel flame, sometimes hard to see |
| Low cost, common materials | No tip-over shutoff or tested safeguards |
| Radiant heat warms plants and people directly | Produces CO in a space you may seal tight |
| Simple, with no moving parts except the fan | Greenhouse plastic, mix, and fuel burn easily |
The upsides are real but modest. The downsides can cost you the greenhouse, or worse.
3. What the video leaves out: the hazards of pooled liquid alcohol
Understanding why something works is not the same as knowing it's safe. A video can't be your source for safety claims. Here are the hazards that fire-safety groups and regulators commonly raise about open, liquid-fueled devices like this one.
Nearly invisible flames. Alcohol flames can be pale and hard to see, especially in bright light. A burner can look out when it is still lit. That is how people get burned reaching in or refilling.
Flame jetting. Safety regulators have warned that products burning pooled alcohol or other liquid fuel can cause flame-jetting and fire, especially if refilled while any flame is present. Fire can travel up the fuel stream into the container and onto the person holding it. Check CPSC.gov for current alerts on alcohol-burning products.
A record of burn injuries. Alcohol-fueled fire pits and similar products have drawn serious burn-injury warnings. Those products at least attempt to include safety engineering. A paint can has none.
Spills and tipping. A can on an uneven greenhouse floor can be bumped by a person, a pet, or a gust through the door. Burning liquid spreads fast, and perlite does not make a can tip-proof.
Carbon monoxide. Burning fuel produces CO, a gas you can't see or smell. A closed greenhouse or room can trap it. Ready.gov advises installing CO detectors with battery backup .
No listing, no safeguards. A paint can is not a listed heating appliance. It has no tip-over shutoff, no oxygen-depletion sensor, and no tested clearances to combustibles.
None of this makes the creator a bad actor. The video shows real care in places. But a careful person can still have a bad night: a gust, a tired refill, an unnoticed flame. Listed heaters exist to absorb that margin of error, and this design has none.
- 1. Seal gaps and cut heat loss first
- Plugging leaks costs far less than adding heat. Wisconsin Extension reports that 70% to 80% of greenhouse heating occurs at night, so focus your effort there. Seal gaps at edges, vents, and the door.
- 2. Add thermal mass
- Use sand walls or black-painted water barrels. They soak up daytime sun and can release warmth overnight. A full 55-gallon barrel weighs roughly 460 pounds, so set barrels on solid ground and plan their spot before filling them.
- 3. Use night or thermal curtains
- Wisconsin Extension reports that energy curtains can cut nighttime heat loss by 20% to 75%. Fit matters, so pull curtains snug and seal the edges.
- 4. Cover the crops directly
- Put a row cover or low tunnel inside the greenhouse to add a second layer right over the plants. CSU Extension trials in Fort Collins found that a plastic cover on a frame gave about 3°F to more than 6°F of frost protection.
- Only if needed: a listed heater
- If you need backup heat, choose a purpose-built heater listed for the space. Follow the manual, ventilate as it requires, and use only its specified fuel. For kerosene heaters, use only water-clear 1-K kerosene, never gasoline or other fuels (CPSC).
- Limits for any combustion heat
- Keep combustibles at least three feet from heat sources (NFPA). Install battery-backed CO alarms (Ready.gov). Never refuel while the device is lit or warm. If you can't meet every limit tonight, don't light it.
4. Greenhouse-specific risks, and why it never belongs in your home
Here is how the greenhouse and the house compare.
The greenhouse is full of fuel. Polyethylene covers, shade cloth, bagged potting mix, plastic trays, and cardboard can all burn. A work bench often holds stored fuel too. NFPA advises keeping anything that can burn at least three feet from any heat source . In a small greenhouse, that clearance is hard to find.
Wind and tight sealing add risk. When you open the door, a gust can push flames sideways, tip a light container, or blow plastic sheeting toward the heat. Many growers also seal small greenhouses tightly at night to hold warmth. That can trap CO while you work inside tending plants.
The house is worse. Bedding, curtains, kids, pets, and sleeping people make an open liquid-fuel flame unacceptable. Never use this as an indoor home heater. That verdict has no exceptions, no "just for an hour," and no "I'll stay awake."
What to do in the house instead. Prioritize heat retention. Close off unused rooms, gather everyone in one space, and layer clothing and bedding. Ready.gov recommends weatherizing with insulation, caulking, and weather stripping, and installing battery-backed smoke and CO detectors ahead of winter storms . Our home heat-retention guide walks through the no-power steps room by room.
The same logic applies to candle and terracotta-pot "heaters." NFPA recommends flashlights or battery-powered lighting during outages instead of candles . An open flame does not become safer because the internet makes it look clever.
- Never refuel while lit or warm
- Alcohol flames can be hard to see, so don't trust your eyes. Confirm nothing is still burning, then let the device cool completely before refueling.
- Keep three feet of clearance
- Keep anything that can burn at least three feet from the heat source, including plastic covers, potting mix bags, curtains, and fuel.
- Use a stable, noncombustible base
- Set the heater on a stable, noncombustible surface and protect it from tipping and from gusts when the door opens.
- Store fuel safely
- Keep fuel in labeled, approved containers, away from living spaces, ignition sources, children, pets, and the greenhouse work area.
- Install battery-backed CO alarms
- Burning fuel produces carbon monoxide, which you can't see or smell, and a sealed greenhouse can trap it. Install CO detectors with battery backup and ventilate as the equipment requires.
- Keep a charged fire extinguisher nearby
- Keep a charged, appropriate extinguisher within reach as a backup. If you can't meet every limit tonight, in this space and this wind, do not light it.
5. Do these first: safer ways to protect greenhouse crops without power
Think of heat as a bucket with holes. Plugging the holes costs far less than pouring more in. Work through these steps in order.
Cut heat loss first. Most heating demand comes after dark. Wisconsin Extension reports that 70% to 80% of greenhouse heating occurs at night . Nighttime is where your effort pays off.
Add thermal mass. Passive solar greenhouses often use thermal mass, such as sand walls or black-painted water barrels. Barrels soak up daytime sun and can release warmth overnight. A full 55-gallon barrel weighs roughly 460 pounds, so set barrels on solid ground and plan their spot before filling them.
Use night or thermal curtains. Wisconsin Extension reports that energy curtains can cut nighttime heat loss by 20% to 75% . A range that wide tells you fit matters. Pull curtains snug and seal gaps at edges, vents, and the door.
Cover the crops directly. A row cover or low tunnel inside the greenhouse creates a second layer right over the plants. CSU Extension trials in Fort Collins found that a plastic cover on a frame gave about 3°F to more than 6°F of frost protection . That can be the difference between wilted leaves and a surviving crop.
Prioritize what matters. Some cold-hardy greens may ride out a rough night, depending on the variety and how low the temperature drops. Look up your varieties' limits before the storm. Move or protect the seedlings and the plants you can't replace.
If you need backup heat, buy the right tool. Choose a purpose-built heater listed for the space. Follow the manual, ventilate as it requires, and use only its specified fuel. For kerosene heaters, CPSC says to use only water-clear 1-K kerosene, never gasoline or other fuels .
Pair the greenhouse with stored food. One bad night shouldn't wipe out your supply. Greenhouse crops are a bonus layer, and your pantry is the foundation during a food disruption.
6. Non-negotiable limits if you use any combustion heat
If you decide to use any combustion heat in a greenhouse, treat this list as a gate. Each item must be true every time.
Never refuel while the device is lit or warm. Let fuel-burning equipment cool before refueling. CPSC gives the same warning for kerosene heaters . With flames that are hard to see, don't trust your eyes. Confirm that nothing is still burning, then let the device cool completely.
Keep three feet of clearance. NFPA recommends keeping combustibles at least three feet from heat sources . That includes plastic covers, potting mix bags, curtains, and fuel.
Use a stable, noncombustible base. Protect the heater from tipping and from door-draft gusts.
Store fuel safely. Use labeled, approved containers. Keep them away from living spaces, ignition sources, children, pets, and the greenhouse work area.
Install battery-backed CO alarms. Ready.gov recommends CO detectors with battery backup . Ventilate as the equipment requires.
Keep a charged, appropriate fire extinguisher nearby. It's a backup, and it can't make an improvised heater safe.
So ask yourself one question before lighting anything: can I meet every limit on this list tonight, in this space, in this wind? If the answer is no for even one item, do not light it. Put on another layer, close the curtain, and let the barrels do their work.
Build a complete grid-down plan. Pair crop protection with a 30-day food storage and rationing plan, so one cold night never decides your winter.