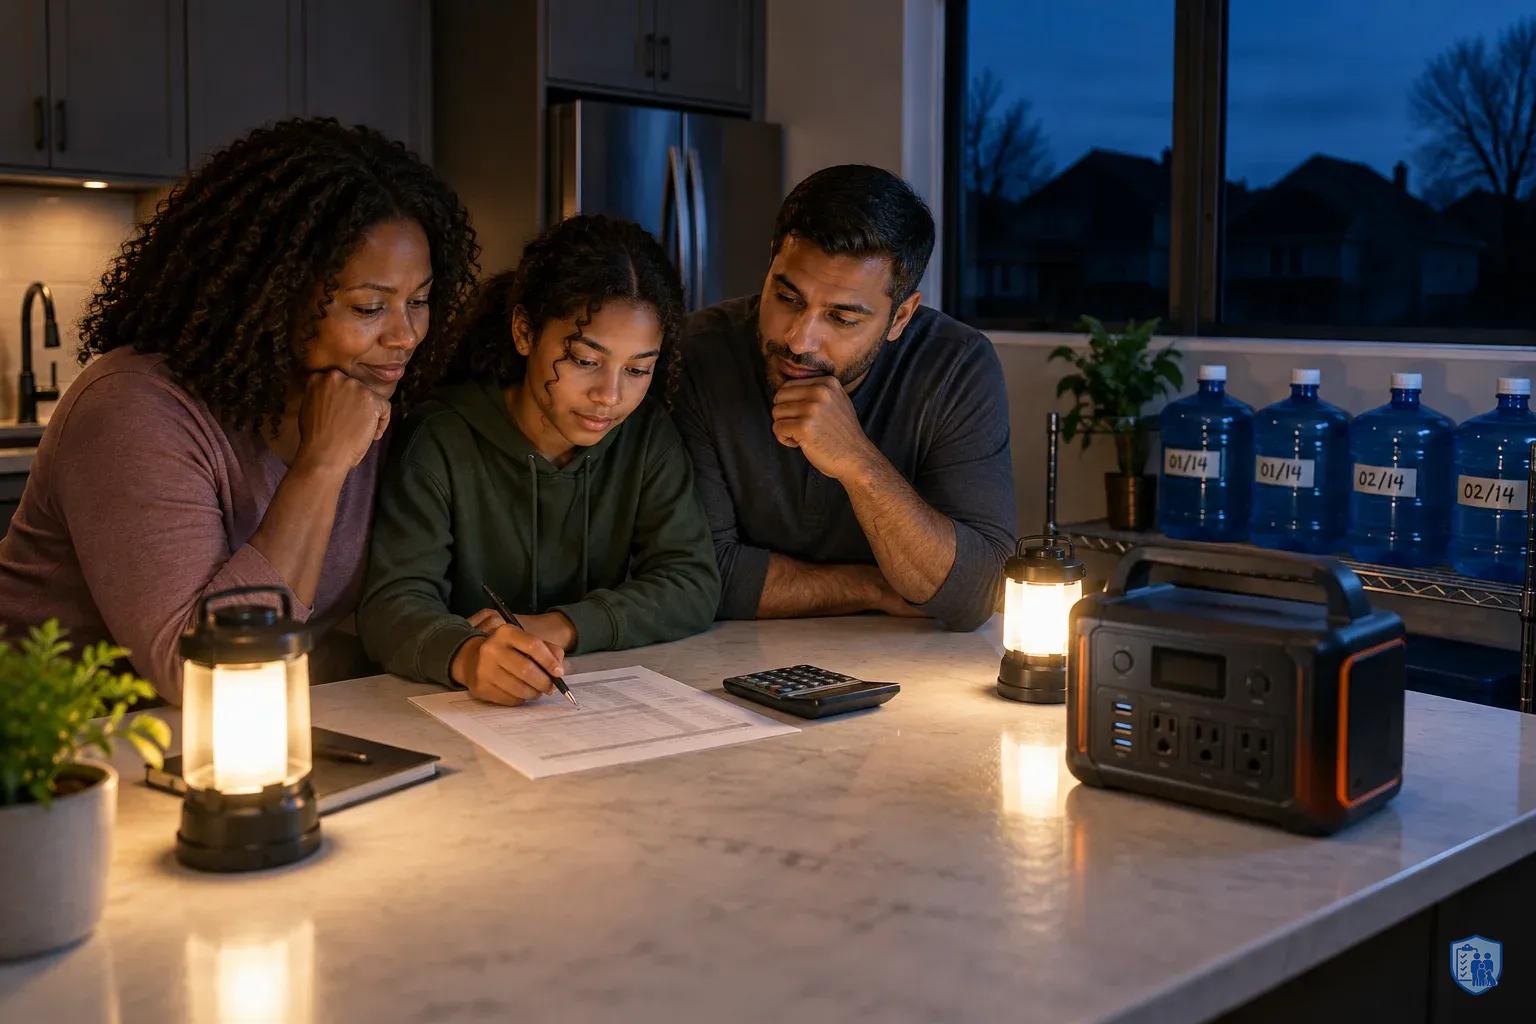
1. Why Run the Numbers: Scope, Assumptions, and How to Use This Calculator
Backup power fails on arithmetic far more often than on hardware. A grid-down event, whether an electromagnetic pulse, a cyberattack on utility controls, or a cascading overload, can leave you without supply for an unknown length of time. Most households discover their shortfall on day two, when the battery bank is empty and the fuel is gone. The fix is to calculate against a defined autonomy window of 3, 7, or 14 days instead of an open-ended "as long as it takes."
This worksheet has four parts, and each part maps to one outcome:
- Critical loads and daily watt-hours address no electricity.
- Architecture choice decides how you supply those watt-hours.
- Stored water and treatment layers address no clean water.
- Fuel budget and rotation address no fuel or transport.
A quick definition: a watt (W) is the rate at which a device draws power. A watt-hour (Wh) is that rate sustained over time, so a 10 W bulb running for 5 hours uses 50 Wh.
This worksheet does NOT cover:
- Licensed electrical work of any kind
- Grid-tie interconnection permitting
- EMP shielding or Faraday enclosure engineering
- Whole-house backup design
Anything that connects to home wiring requires a licensed electrician. NFPA advises against powering house wiring by plugging a generator into a wall outlet, a practice called backfeeding, and recommends a properly installed transfer switch instead . NFPA's alternative is to plug appliances directly into the generator or into heavy-duty, outdoor-rated extension cords . Backfeeding can energize utility lines and may endanger line workers and neighbors. Do not do it.
All appliance figures in the worked examples are illustrative. Substitute measured values. A plug-in watt-hour meter and the labels on your appliances are your two input sources, and a meter reading beats a nameplate guess every time. Ready.gov recommends inventorying the items you rely on that need electricity, including medical devices, and planning batteries or alternative power for them . That inventory is where the calculation starts.
- Rank loads into tiers, then size for Tier 1 and Tier 2 only
- Tier 1 is life-safety and medical, such as a CPAP, oxygen concentrator or refrigerated medication. Tier 2 is preservation and function: refrigerator or freezer, water pumping, communications and basic lighting. Tier 3 is comfort and gets only whatever surplus remains.
- Core formula: watts × hours of use per day = Wh/day
- This works directly for steady loads such as lights and a CPAP. For cycling loads like refrigerators, nameplate watts × 24 hours badly overstates the draw. Run a plug-in meter for a full 24 hours and record the total instead.
- Worked example subtotal: 1,830 Wh/day
- These values are illustrative, so replace them with your own. 4 LED lights at 4 × 10 W × 5 h = 200. Refrigerator measured over 24 h = 1,200. CPAP (Tier 1) at 40 W × 8 h = 320. Two phones = 30. Radio/router at 20 W × 4 h = 80.
- Add an inverter conversion-loss margin
- At an illustrative 15%, 1,830 × 1.15 ≈ 2,100 Wh/day. Replace this assumption with the manufacturer's specification.
- Divide by the usable battery fraction
- This keeps you from planning to drain the pack completely. At an illustrative 0.8, 2,100 ÷ 0.8 ≈ 2,600 Wh of rated capacity per day of autonomy. Use the manufacturer's specification in place of 0.8.
- Multiply by your autonomy window to get the battery target
- Using 2,600 Wh/day without recharging, the target is 7,800 Wh for 3 days, 18,200 Wh for 7 days and 36,400 Wh for 14 days. The 14-day figure shows why recharge capacity matters more than ever-larger batteries.
2. Step 1: Rank Critical Loads and Calculate Daily Watt-Hours
Start with Ready.gov's inventory step . Walk through the house and list every device that plugs in or takes batteries. Then sort each one into one of three tiers.
- Tier 1, life-safety and medical: CPAP, oxygen concentrator, refrigerated medication.
- Tier 2, preservation and function: refrigerator or freezer, water pumping, communications, basic lighting.
- Tier 3, comfort: everything else, including entertainment, extra lighting, and small appliances.
Size your system for Tier 1 and Tier 2 only. Tier 3 gets whatever surplus remains.
The core formula is watts × hours of use per day = Wh/day. It works directly for steady loads such as lights and a CPAP. Cycling loads like refrigerators are different, because the compressor runs intermittently. Nameplate watts × 24 hours will badly overstate the draw, so run the plug-in meter for a full 24 hours and record the total.
Worked example (illustrative values, replace with your own)
| Load | Calculation | Wh/day |
|---|---|---|
| 4 LED lights | 4 × 10 W × 5 h | 200 |
| Refrigerator | Measured over 24 h | 1,200 |
| CPAP | 40 W × 8 h | 320 |
| Two phones | Estimated charge energy | 30 |
| Radio/router | 20 W × 4 h | 80 |
| Subtotal | 1,830 |
Now apply two assumptions, and replace both with manufacturer specifications. First, add a conversion-loss margin for the inverter. At an illustrative 15%, 1,830 × 1.15 ≈ 2,100 Wh/day. Second, divide by the usable battery fraction so you never plan to drain the pack completely. At an illustrative 0.8, 2,100 ÷ 0.8 ≈ 2,600 Wh of rated capacity per day of autonomy.
Multiply by your window to get a battery target without recharging. Using 2,600 Wh/day throughout, that is 7,800 Wh for 3 days, 18,200 Wh for 7 days, and 36,400 Wh for 14 days. The 14-day figure shows why recharge capacity, covered in Step 2, matters more than ever-larger batteries.
Download the Grid-Down Infrastructure Worksheet now and log your first five critical loads tonight.
Record surge watts separately
Motors can draw significantly more than their running wattage for a moment at startup. Check the manufacturer's specifications for the exact multiple. Write down the largest starting load on your list, usually the refrigerator compressor or a well pump. Your inverter or generator must cover that peak, not just the running total. A system that adds up perfectly on paper can still trip off when the compressor kicks on.
- Daily water baseline
- Store at least one gallon of water per person per day for drinking and sanitation. Treat this as a minimum, because heat, illness, nursing, and pets all raise consumption.
- 14-day storage equation
- 4 people × 1 gal × 14 days = 56 gal minimum. Add a planning buffer of 1.5× (an illustrative figure): 56 × 1.5 = 84 gal.
- Convert to containers and rotate
- 84 ÷ 5 = 16.8, so round up to seventeen 5-gallon containers. Decide where they will live before buying, and spread them across locations so one leak doesn't take your whole reserve. Label each with a fill date and rotate stored water periodically.
- Use at least two independent treatment layers
- Each method has gaps. Filters clog and crack, chemical treatment depends on contact time and water clarity, and boiling consumes fuel. With two independent methods, one failure won't leave you without safe water.
- Treatment options to combine
- Boiling is the most dependable way to kill germs. Use a camp stove outdoors only and count its fuel in your fuel budget. For chemical disinfection, follow the product label exactly. For filtration, choose a filter rated for the organisms you expect. Keep sealed bottled water as a backup.
The refrigeration decision
Refrigerators are your biggest Tier 2 draw, but they don't have to run continuously. Widely cited federal food-safety guidance holds that food stays safe for about 4 hours in a refrigerator with the doors closed, 48 hours in a full freezer, and 24 hours in a half-full freezer. Confirm those durations against current CDC or USDA guidance before you rely on them. If they hold, scheduled blocks become a legitimate strategy. You can power the fridge for a few hours each day to hold temperature, and you should keep the doors shut between blocks. A full freezer buys you far more margin than a half-empty one, so fill empty space with water containers.
Medical devices
Ready.gov advises planning alternative power for medical devices that require electricity . Contact the device manufacturer or the prescriber to confirm which battery and DC-power options exist for your equipment. FDA guidance likewise encourages keeping a list of your medical supplies and talking with your provider about an emergency plan . Don't assume a generic inverter setup is compatible or adequate for therapy equipment. Tier 1 loads come first in every decision that follows.
- Power: Battery Target Formula
- Watts × hours of use per day = Wh/day for Tier 1–2 loads only. Multiply by 1.15 for inverter loss and divide by 0.8 for usable capacity (both illustrative; use manufacturer specs). Then multiply by autonomy days. At 2,600 Wh/day, that is 7,800 Wh for 3 days, 18,200 Wh for 7 days and 36,400 Wh for 14 days. Record your largest surge watts and your recharge plan.
- Water: Storage Formula
- People × 1 gal × days is the minimum, then add a planning buffer (illustrative 1.5×) and divide by container size. Example: 4 people × 1 gal × 14 days = 56 gal, × 1.5 = 84 gal, which rounds up to seventeen 5-gallon containers. Spread them across locations and label each with a fill date.
- Water: Two Treatment Layers Plus Backup
- Pair at least two independent methods: boiling (camp stove outdoors only), chemical disinfection per the product label, or a filter rated for the organisms you expect. Keep sealed bottled water as a backup. Boiling and disinfection will not remove fuel, toxic chemical or radioactive contamination.
- Fuel: Budget and Rotation Formula
- Use the manufacturer's consumption rating × scheduled hours per day × autonomy days, based on your measured load rather than full-load output. Add cooking and water-boiling fuel, plus a margin. Tag every container, log fill and use-by dates, and use the oldest fuel first (FIFO).
- Maintenance Cadence
- Monthly: check power-station charge and inspect for swelling, heat or odor. Quarterly: exercise the generator outdoors and review the fuel log. Regularly: test CO alarms and confirm fresh batteries. Periodically: inspect water containers for leaks, cloudiness or damage, and rotate stored water. Defer to manufacturer schedules where they differ.
- Validate With a 24-Hour Grid-Off Drill
- Run Tier 1–2 loads only from your backup source for 24 hours. Compare measured use to the worksheet and adjust. Flip the main breaker only if a licensed electrician installed your setup for that purpose.
3. Step 2: Choose the Architecture — Solar + Battery, Battery-Only, or Generator-Backed
Once you know your Wh/day, you choose how to supply it. Each architecture has a distinct risk profile. The safest choice depends on where the equipment will sit and how long the outage may last.
Option 1, battery-only. A battery-only system is silent and produces no combustion emissions, which makes it the safest choice indoors from a carbon monoxide standpoint. It still carries lithium-ion fire risk, covered below . Its other limit is stored energy. Size it from Step 1 multiplied by your days of autonomy, and plan a recharge source or accept that the system has a hard stop.
Option 2, solar plus battery. Solar + battery adds a recharge source that needs no fuel deliveries . That speaks directly to the no-fuel-transport risk. Many buyers miss one point, so read it twice. Solar contributes to outage resilience only when paired with energy storage or microgrid capability, and standard grid-tied solar without storage is designed to shut off during an outage . A roof full of panels does nothing for you in a blackout unless the system was engineered for islanding. Any hardwired integration belongs to a licensed electrician.
Option 3, generator-backed. A generator delivers the highest output and handles surge loads easily. It also depends on fuel and carries carbon monoxide, fire, and shock hazards. The CPSC says to operate portable generators only outdoors, far from the home, with exhaust directed away. Never run one inside a home, garage, basement, crawlspace, or shed, even with doors or windows open . Treat a generator as a battery charger run in scheduled blocks, not a 24/7 source.
Decision matrix
| Factor | Battery-only | Solar + battery | Generator-backed |
|---|---|---|---|
| Noise | Silent | Silent | Loud |
| Fuel dependency | None (limited by stored Wh) | None | High |
| Surge capacity | Limited by inverter rating | Limited by inverter rating | Highest |
| Indoor safety | Safest from combustion hazards; observe lithium-ion precautions | Safe (panels outdoors) | Outdoors only |
| Maintenance | Low; periodic charge checks | Low; panel cleaning and checks | High; fuel, oil, exercise runs |
Hybrid logic for long outages
For a 7- or 14-day window, the sturdiest design layers all three. Batteries carry Tier 1 loads overnight. Solar recharges them by day. The generator, run outdoors in short scheduled blocks, covers deficits on low-sun days and powers any heavy surge load. This arrangement can reduce fuel use substantially compared with generator-only operation. It also keeps medical loads on the quietest, safest source. Your actual savings depend on sun hours, array size, and load profile, so model them with your own numbers.
Lithium-ion power stations
Choose lithium-ion units listed by a recognized testing laboratory, charge only with the manufacturer's charger, keep them away from combustibles, avoid charging on beds or sofas, and retire units that become swollen, hot, leaking, odd-smelling, or noisy . Store them where a failure cannot block an exit. Check the manufacturer's stated temperature range, because charging outside it can degrade cells.
Alarms and discipline
CPSC urges installing working CO alarms on every level of the home and outside sleeping areas . Choose models with battery backup, since outages are exactly when generators and combustion heat sources get misused. Finally, resist the urge to overspend. Size to Tier 1 plus Tier 2, not the whole house, and expand only after you have measured real use data.
4. Step 3: Calculate Stored Water and Build Two Treatment Layers
Water is the one resource you cannot improvise on day three. FEMA's baseline is at least one gallon of water per person per day for drinking and sanitation, and at least a several-day supply on hand . Treat one gallon as a floor. Heat, illness, nursing, and pets all push consumption higher .
The storage math
- Minimum: 4 people × 1 gal × 14 days = 56 gal.
- Add a planning buffer (illustrative 1.5×): 56 × 1.5 = 84 gal.
- Convert to containers: 84 ÷ 5 = 16.8, so round up to seventeen 5-gallon containers.
Seventeen containers take real floor space, so decide where they'll live before you buy them. Spread them across locations so a single leak or failure doesn't take your whole reserve. FEMA also advises rotating stored water periodically, so label each container with a fill date and add it to your maintenance calendar .
The grid-down link
If you have a well or rely on a pressure system, your water supply is itself an electrical load. Add the pump to your Step 1 tier list, including its startup surge, or plan a manual extraction method. In a grid-down event, municipal systems may also lose pressure or treatment capacity. Stored water is your first line either way.
Two treatment layers
Stored water covers the early days. After that, you'll draw from questionable sources, so pair at least two independent methods:
- Boiling. Public-health guidance, including the CDC's, treats boiling as the most dependable way to kill germs in emergency water. Verify against the CDC's current page. Use a camp stove outdoors only, and charge the fuel it burns to your Step 4 budget.
- Chemical disinfection. Follow the product label directions exactly. This worksheet gives no bleach dosing numbers. Check the label and the CDC's current emergency-water guidance.
- Filtration. Choose a filter rated for the organisms you expect to face, and confirm the rating on the packaging.
- Bottled water as backup. Keep a sealed reserve for when a method fails or supplies run short.
Layers matter because each method has gaps. Filters clog and crack, chemical treatment depends on contact time and water clarity, and boiling consumes fuel. Two independent methods mean one failure won't leave you without safe water.
The hard limit
No filter, boiling, or bleach makes water safe if fuel, toxic chemicals, or radioactive material has contaminated it. Public-health guidance, including the CDC's, indicates that boiling and disinfection won't remove those hazards. If your source might be compromised that way, you need a different source entirely. That is why a deep stored reserve and mapped alternatives are part of the plan and not extras.
5. Step 4: Safe Fuel Storage and a Labeled Rotation Schedule
Fuel is the most perishable and most hazardous resource in your plan. It needs a budget, a storage standard, and a paper trail.
Build the budget
Estimate generator fuel as manufacturer's consumption rating × scheduled hours per day × autonomy days. Then add cooking and water-boiling fuel, since both draw from the same stockpile. Build in a margin, because resupply may fail entirely during a grid-down event. If the generator's rating is in gallons per hour at a given load, use the figure for the load you actually measured in Step 1, not full-load output.
Store it safely
NFPA says to store fuel outside living areas in properly labeled, non-glass safety containers, away from fuel-burning appliances . Keep it clear of ignition sources, and follow local fire codes for quantity limits. Your local fire authority can tell you what those limits are. As general practice, not an NFPA requirement, avoid storing fuel in the house or an attached garage, or anywhere vapors can reach a pilot light or a water heater.
The rotation log
Every container gets a tag and a matching line in a log. Use the oldest fuel first (FIFO). Cycle it into vehicles or equipment on schedule, then refill with fresh fuel.
| Container # | Fuel type | Fill date | Stabilizer added? | Use-by date | Cycled into (equipment) | Date cycled |
|---|---|---|---|---|---|---|
| 1 | Y / N | |||||
| 2 | Y / N | |||||
| 3 | Y / N |
Set each use-by date according to the stabilizer manufacturer's and equipment manufacturer's instructions. Shelf life varies with fuel type, storage conditions, and additives, so this worksheet gives no figures. Copy the table into a spreadsheet, or print it and tape it near the storage location.
Refueling and combustion rules
NFPA says to turn the generator off and let it cool before refueling . Fuel spilled on a hot engine can ignite. The CPSC repeats the placement rule: never run a portable generator in a garage, basement, crawlspace, or shed, even with doors or windows open . The same logic applies to everything else that burns. NFPA guidance warns against using grills indoors , and camp stoves and charcoal-burning devices produce the same carbon monoxide. Keep all of them out of the home, basement, and garage.
That rule is hardest to follow in winter. For cold, rely on clothing layers, a shrunken warming shelter such as one insulated room, and indoor-rated listed heaters only. Burning charcoal indoors is a recognized cause of carbon monoxide poisoning during outages. Don't let it become your plan.
The no-fuel-transport tie-in
If gas stations can't pump and roads are unreliable, a plan built on resupply is fragile. Map local fuel alternatives in advance, and lean harder on solar recharge so your generator runs fewer hours. Every hour the sun covers is fuel you don't have to find.
6. Consolidated Worksheet, Maintenance Cadence, and Limits of This Plan
Combine the four steps into one sheet you can read at a glance:
- Power: Tier 1–2 Wh/day (with loss and usable-capacity factors) × autonomy days = battery target. Add your largest surge watts and your recharge plan.
- Water: gallons stored, container count and locations, and your two treatment layers plus a bottled backup.
- Fuel: gallons by type, container count, and rotation dates from the log.
Maintenance cadence
Systems fail from neglect, not from design. Put these suggested intervals on a calendar, and defer to manufacturer schedules wherever they differ:
- Monthly: check power-station charge levels and inspect for swelling, heat, or odor.
- Quarterly: exercise the generator outdoors, and review the fuel log.
- Regularly: test CO alarms and confirm the batteries are fresh. CPSC urges working alarms on every level and outside sleeping areas .
- Periodically: inspect water containers for leaks, cloudiness, or damage, and rotate stored water.
Run one test
Before you trust the math, run a 24-hour grid-off drill on Tier 1–2 loads only. Flip the main breaker only if a licensed electrician installed your setup for that purpose. Otherwise, simply run the listed devices from your backup source. Compare your measured use to the worksheet and adjust. Most people find at least one load they underestimated.
Limits of this plan
This calculator covers household-scale portable and residential systems. It does not cover licensed electrical work, interconnection permitting, or EMP shielding engineering. Consult a licensed electrician and your local authority having jurisdiction before connecting anything to home wiring. Ready.gov's guidance to plan batteries and alternative power for electricity-dependent items, including medical devices, is the foundation here . The safety rules in this worksheet are fixed constraints, not optional extras.
A measured, tiered system beats an oversized one. You don't need to power the whole house. You need to know what your critical loads draw, how much water and fuel you hold, and when each will run out.
Start your fuel rotation log today: print the template, tag every container, and schedule your first 24-hour grid-off drill.